Essential Skills for the Road-Less Traveled
DIY tire repair can save and off-road adventure if a flat tire strikes. Whether it’s after hours or miles from the nearest service station, you don’t have to feel stranded if you’re equipped with a tire plug kit.
Do I Need a Full-sized Spare Tire
When faced with a puncture, liquid tire repair solutions might seem tempting due to their ease of use. However, these can complicate future repairs and potentially harm the Tire Pressure Monitor System (TPMS). Instead, consider a tire plug as your best bet for a quick, reliable fix that keeps your journey on track. Made from a durable mix of cork and adhesive, a tire plug can seal the breach effectively, allowing you to reach a professional repair shop when possible.
Remember, a DIY tire repair with tire plugs are suitable for repairing the tread area only; they cannot fix sidewall or severe damage. Most road punctures are caused by nails or screws, which are ideal candidates for this quick fix. You might wonder how long the process takes—typically, you can plug a tire in just a few minutes once you’re prepped.
What You Need in Your Tire Plug Kit
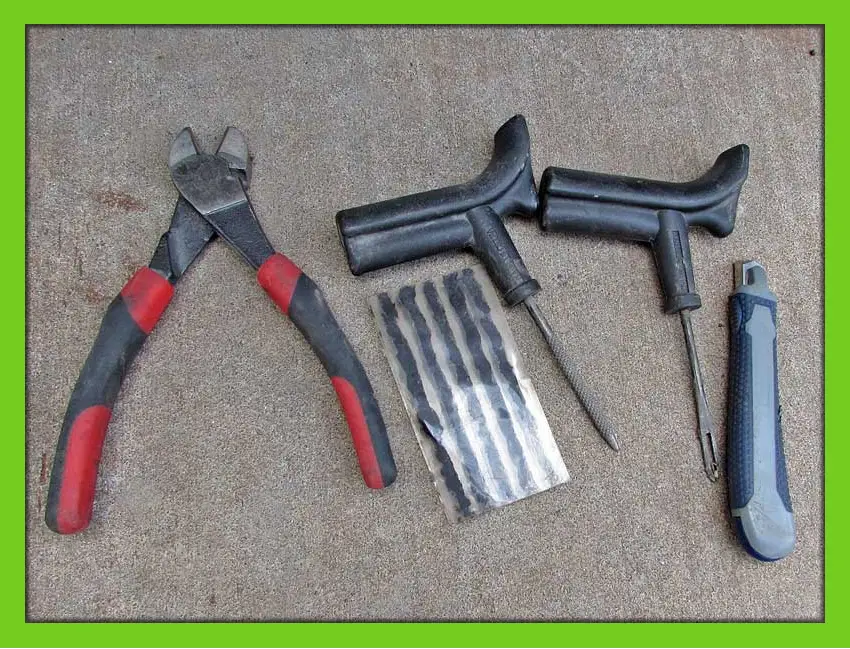
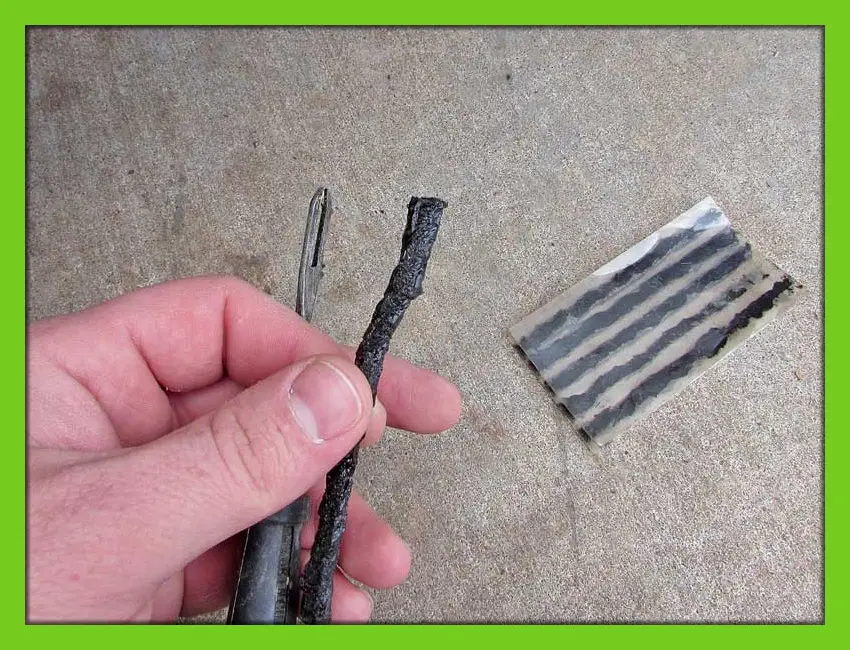
Every off-roader should keep a comprehensive tire plug kit in their vehicle, along with a 12-volt compressor. Here’s what you should have in your kit:
Tire plug kit: Includes plugs, an insertion tool, and a reamer.
Pliers: Needle-nosed or diagonal side-cutters work best.
Compressed air: For re-inflating the tire after the repair.
Some kits may also include liquid cement for a more permanent fix, though its use is optional.
Step-by-Step Guide to Using a Tire Plug Kit
Step 1: Locate the Leak
If the puncture isn’t obvious, spray soapy water on the tire and watch for bubbles to identify the leak.
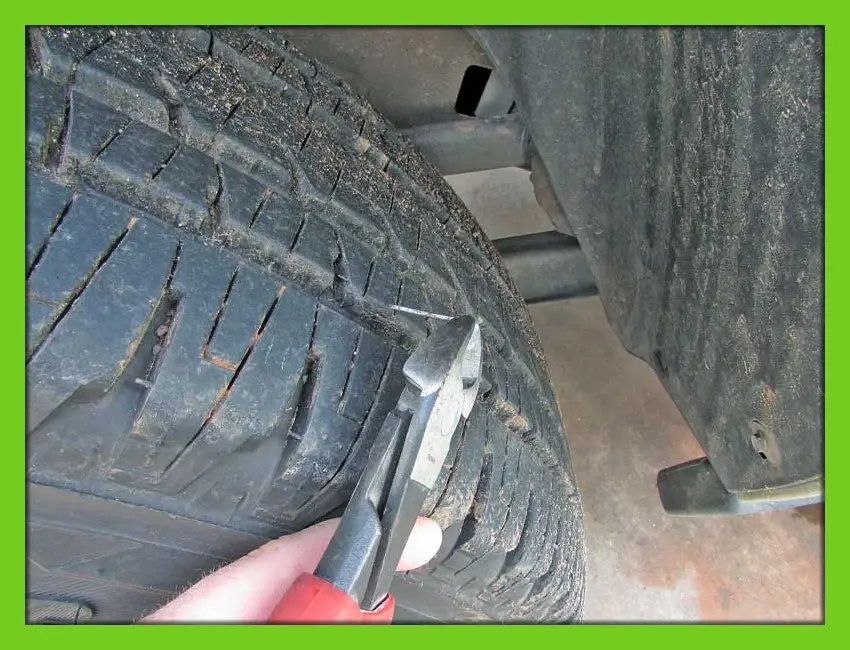
Step 2: Remove the Foreign Object
Using side-cutters, grip and remove the object embedded in the tire—this could be anything from a nail to a piece of debris.
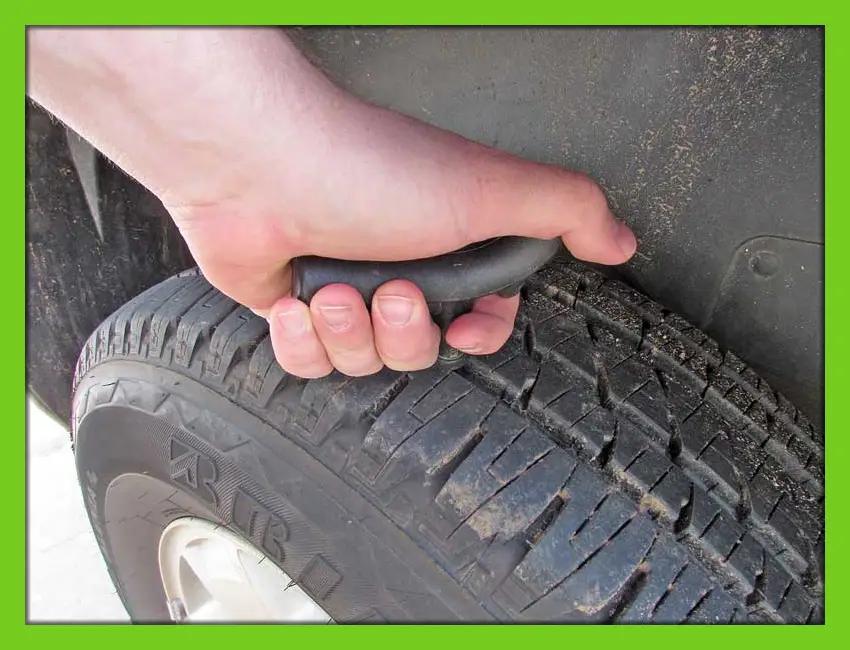
Step 3: Prep the Area
Insert the reamer into the puncture, using a twisting motion to push through and saw it back and forth a few times. This creates a clean hole for the plug.
Step 4: Prepare the Plug
Thread a plug through the eyelet of the installation tool, using pliers to pull it halfway through for easy handling.
Step 5: Insert the Tire Plug
If you’re using cement, apply it to the plug before inserting it into the tire. Push the installer tool into the puncture until the plug is about three-quarters of the way in, then twist and pull the tool out.

Step 6: Air Up the Tire
Fill the tire to the recommended PSI. It’s crucial to ensure the tire is properly inflated before driving further.
Essential Advice for Every Off-Roader
Equipping your vehicle with an emergency tire plug kit and knowing how to use it can save your day. While these repairs are effective for getting you back on the road, it’s wise to seek a professional repair at your earliest convenience for a long-term solution. Whether it’s the middle of the night or deep in the backcountry, being prepared with the right tools and knowledge ensures that a flat tire is just a minor bump in your adventure.